1.Zoom in close on your photo and with the eyedropper tool select a darker area of the skin.
2 Now create a new layer (Layer/New/New Layer) or CTRL Shift N
3. You want to Change the blending mode by click on that new layer you made and selecting Blending Options. Then on that pop up box you will see the Blend mode area. From that drop down menu select Multiply. then click OK

4. Select a smallish size brush. Just a simple default round brush is all. and now paint that color you picked up along edges of the nose, cheek bones, jawline ect.

5. Scary huh? No worries it wont look like that for long. Use Gaussian Blur to blend that detail in and smooth it out. Do a tiny bit at a time. You may even choose to repeat the process of another layer and more painting to build the shading up even more.
6. Once you finish with your layers of the painting, hide the background image then merge those other layers.
7. Now on the avatar only layer you should probably go ahead and adjust any edges and shapes using Liquify before going any further.
8. Liquify is located under FILTER. Once you have that open adjust your brush size according to which area of the body you are fixing. If its the arms, legs hips ect you can use a large size, but if its the jawline go for a medium small size same with the facial features.

9. Set brush pressure to about 15 or 20. You want to keep it low so you dont end up with a mess. Now pus the brush along the areas you want to smooth and adjust the shape of. After making your adjustments click ok.
10. Now back to Editing. To fix any areas of the skin to soften the tone a bit Create a new layer and under mode set it to Soft Light.
11.. With the eyedropper tool select a an area of the skin, then select a brush. Where it says Flow you want to lower that to 50 to make the painting softer.

12. You make choose to repeat the process using different shades of your avatars skintone ranging from light to dark. Painting the darker tones in areas where there will be shadows and lighter tones over headers light the cheeks, the chin, forehead, center of the nose ect.
13.Shadows. These are more like lighting shadows than the natural light and dark ranges on the skintone itself. So create a new layer and choose black paint color. Set your brush size to a small size around 15 or 20.
13. With the pen tool click along the the edge of the jawline.

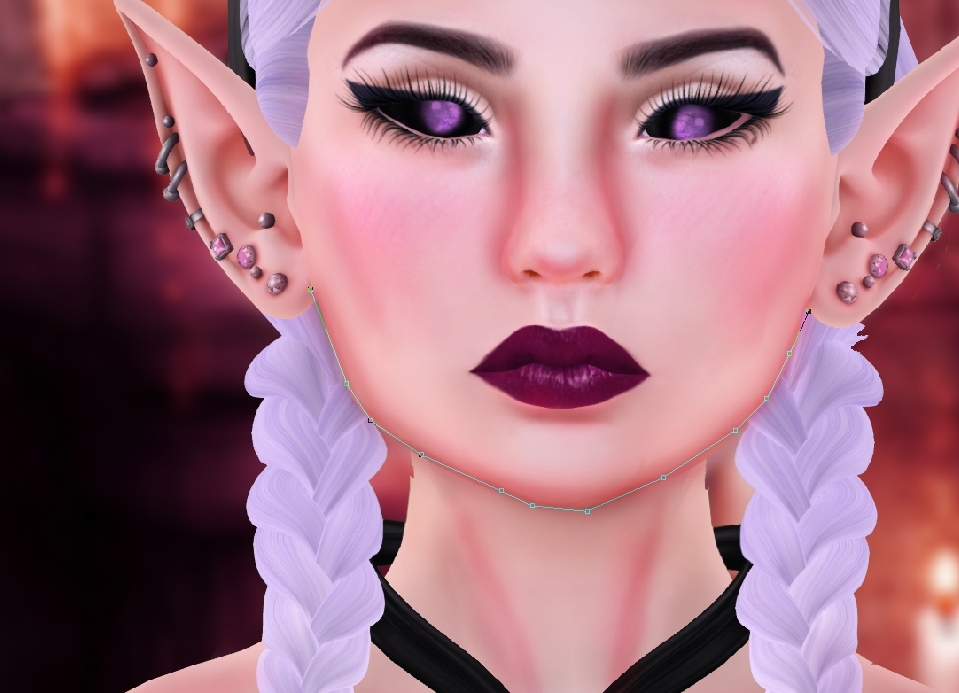
15. Right click and Click Stroke Path, check the box that says simulate pressure. The click ok.

16. Right Click, Delete Path. Now you have a black outline with smooth edges.

17. Repeat this process for other areas of the body needing shading. Adjust brush size depending on the area of the body you are working on, then click back n the pen tool. Use the same layer. No need for a new one. After finishing using the pen tool and outlining various areas of the body you need to lower the Opacity of this layer to about 50%. and you can just use Blur Tool to smooth it a bit.

18 Highlights.. Create a New Layer, set the Blend Mode to Overlay. Select a white paint color. Now Paint white over these suggested areas to add highlighting.

19. Now use Gaussian Blur a tiny bit at a time to blur it enough so that its smoothed out but visible enough that you see highlighting. You may choose to repeat this process with another layer to build up the highlighting effects.

20. Painting Hair in Part 3, followed by Part 4 with filters and color adjustments and extra lighting and highlights added.
0 comments:
Post a Comment